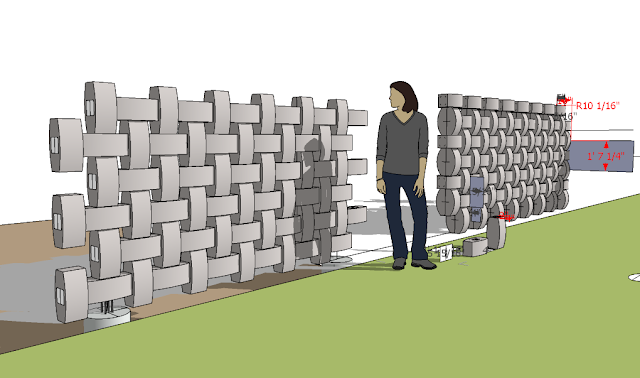
Free-standing Wall ~ Process
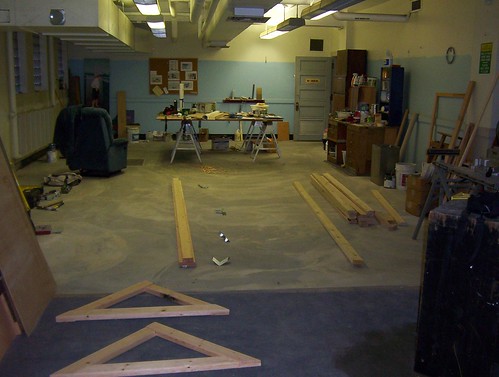
After acquiring the first installment of materials I started this project 26th of February. I brought most of my tools in from my truck and set them where I could get anything quickly.
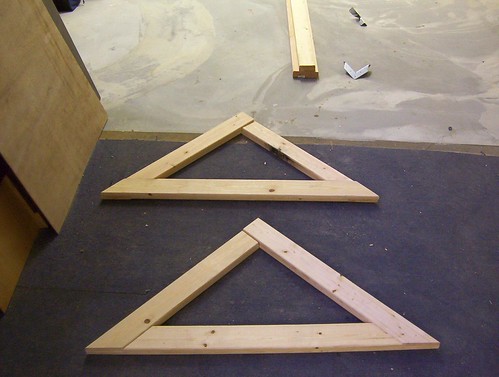
I would rather have used a mortising jig on my table saw to cut the half-lap, 45 degree joints for the triangular support braces, but that is in my shop, somewhat disassembled, and waiting for a better base. My sliding chopsaw has a depth stop setting though, and I just "carved" out the mortises halfway with a large chisel after cross-cutting a bunch of slots to that depth.
I still have to clean these joints up a little before screwing them together. I'll probably use my mini-belt sander for that.
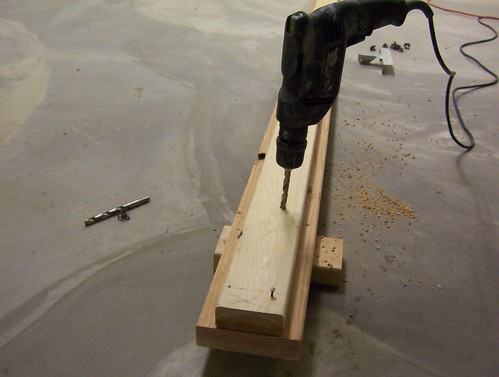
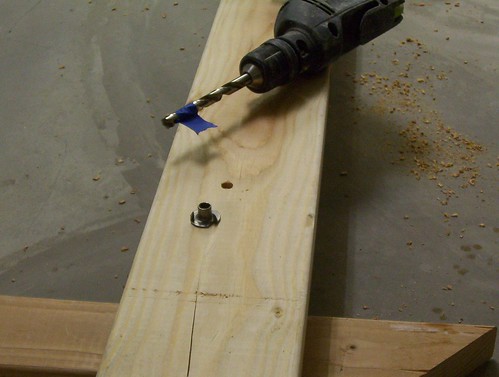
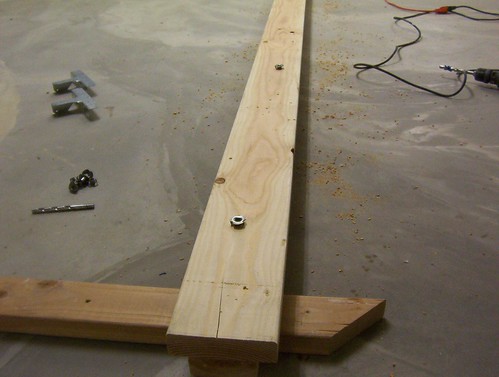
On the 27th I laid the bottom plate out for stud placement, temporarily nailed the 2 x 4 plate centered upon that, then drilled for the 3/8" T-nuts (1/64" larger than the bolt for a pilot from the top, and exact fit - 7/16"for the T-nut - from the bottom.) Fastening the wall to the base with these will make it possible for it to be disassembled, making it portable and re-usable.


Once I had that operation done I removed the two nails and chopped the 2 x 4 to four foot lengths.
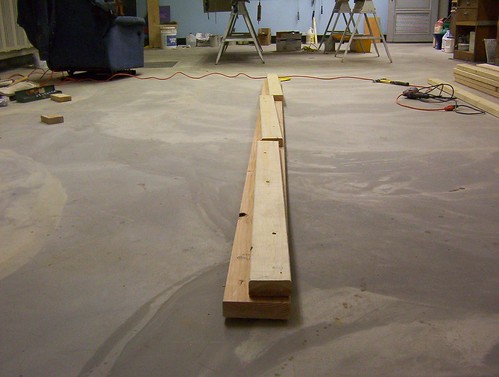
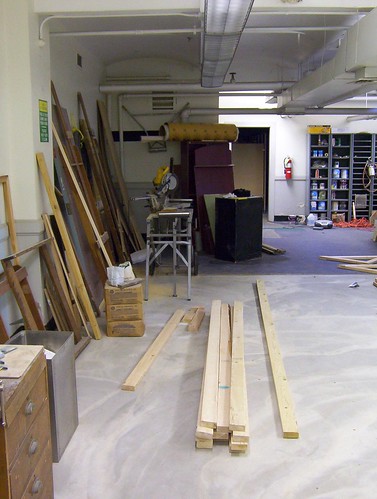
Saturday I also brought down the studs, graded and crowned them for best choice to face them.

Comments
Post a Comment