Casting Cornice
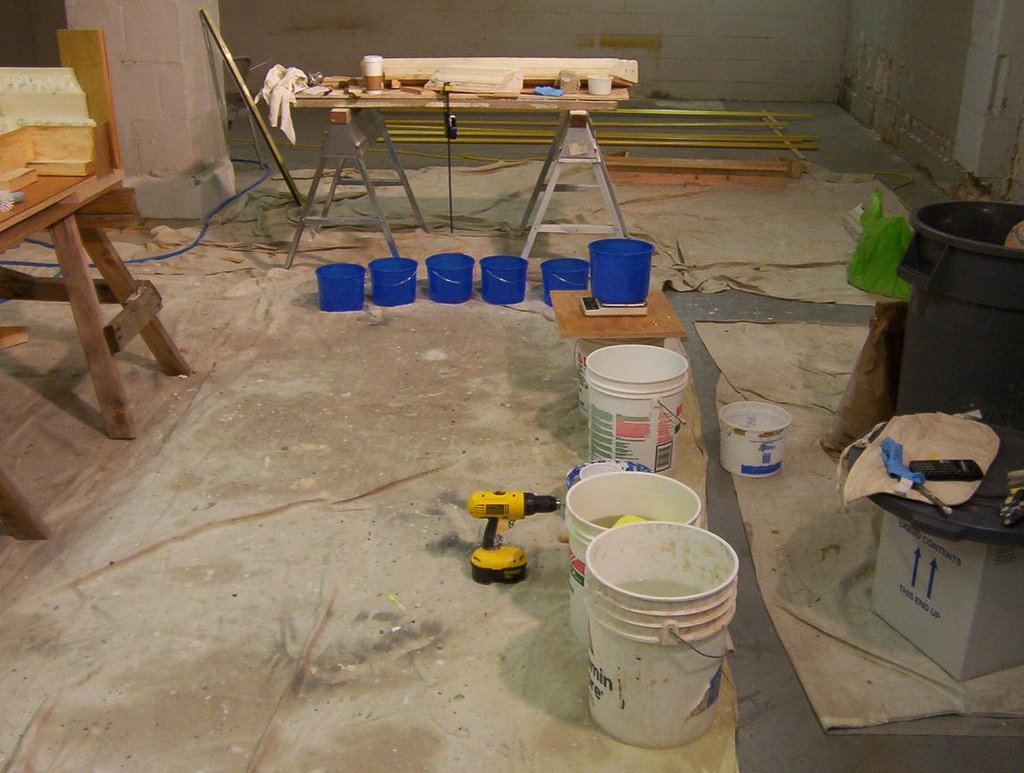

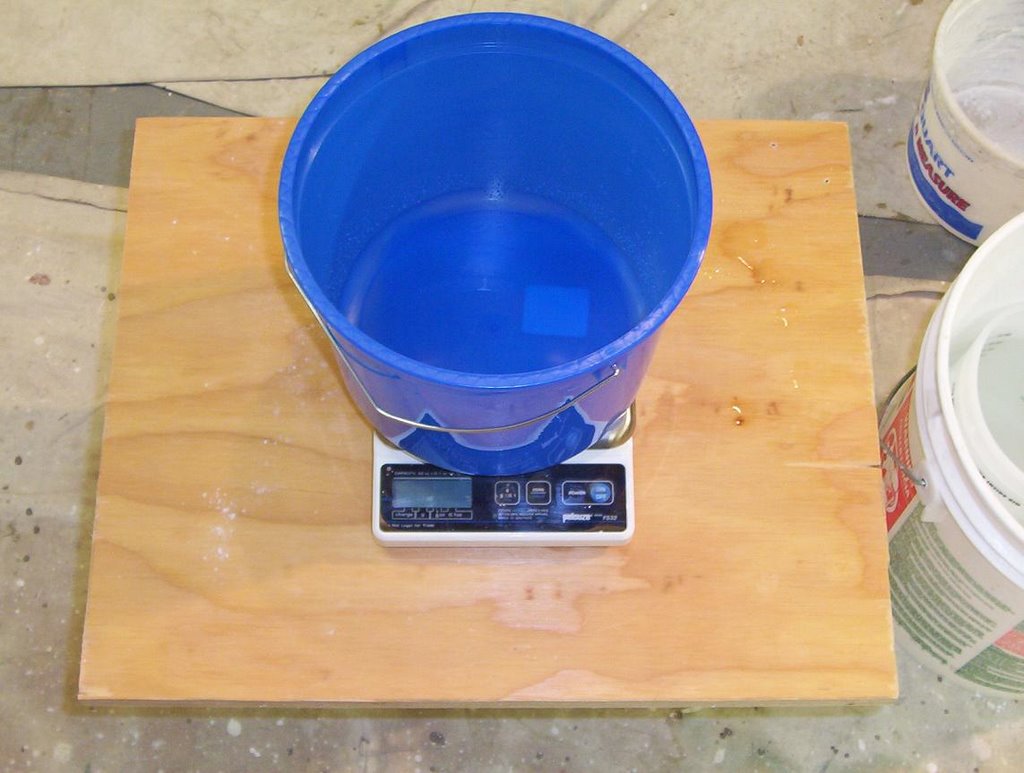
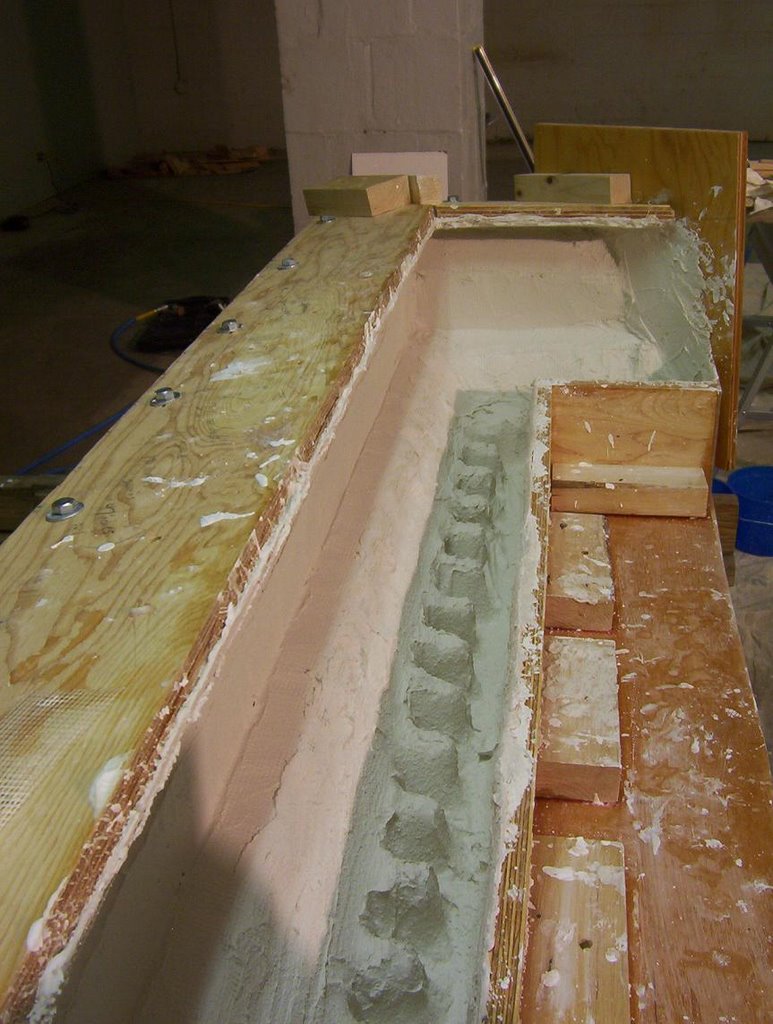
Water and plaster are weighed out to ensure consistency. Once I start I will have to go all the way to the fiberglass layer.
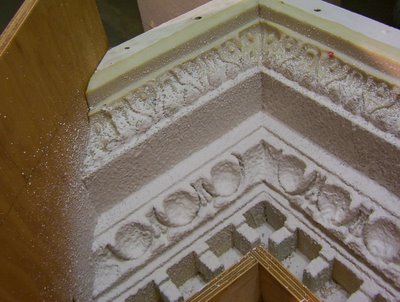 Face mix is relatively softer plaster. It is flicked on with a cleaning brush.


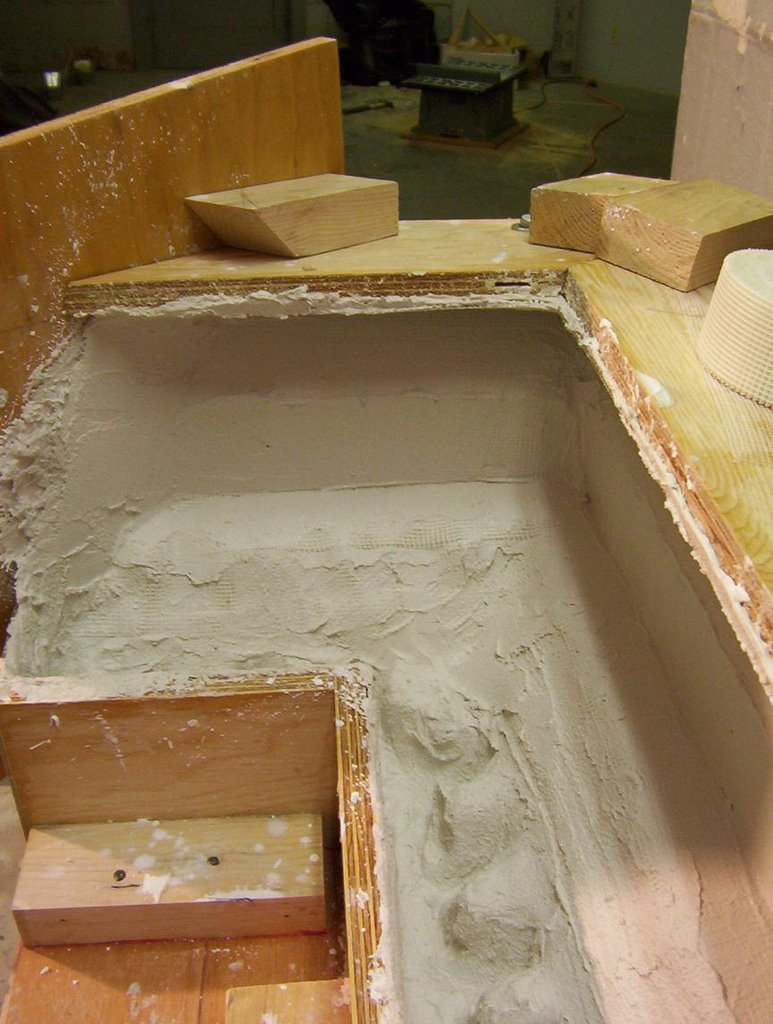
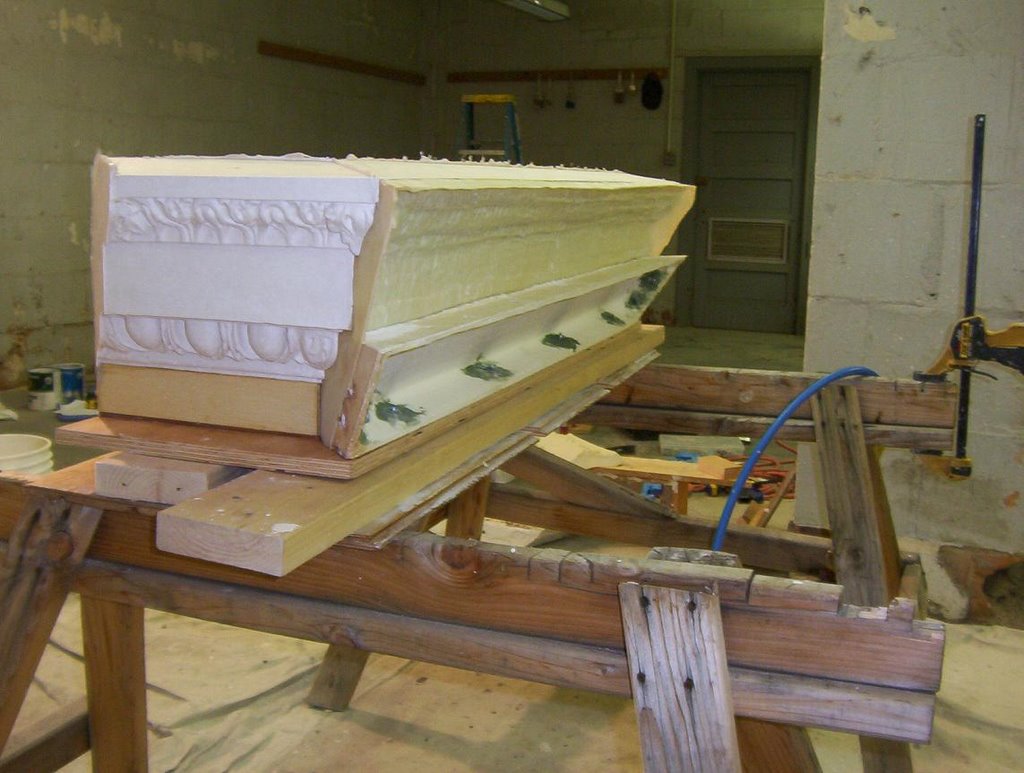
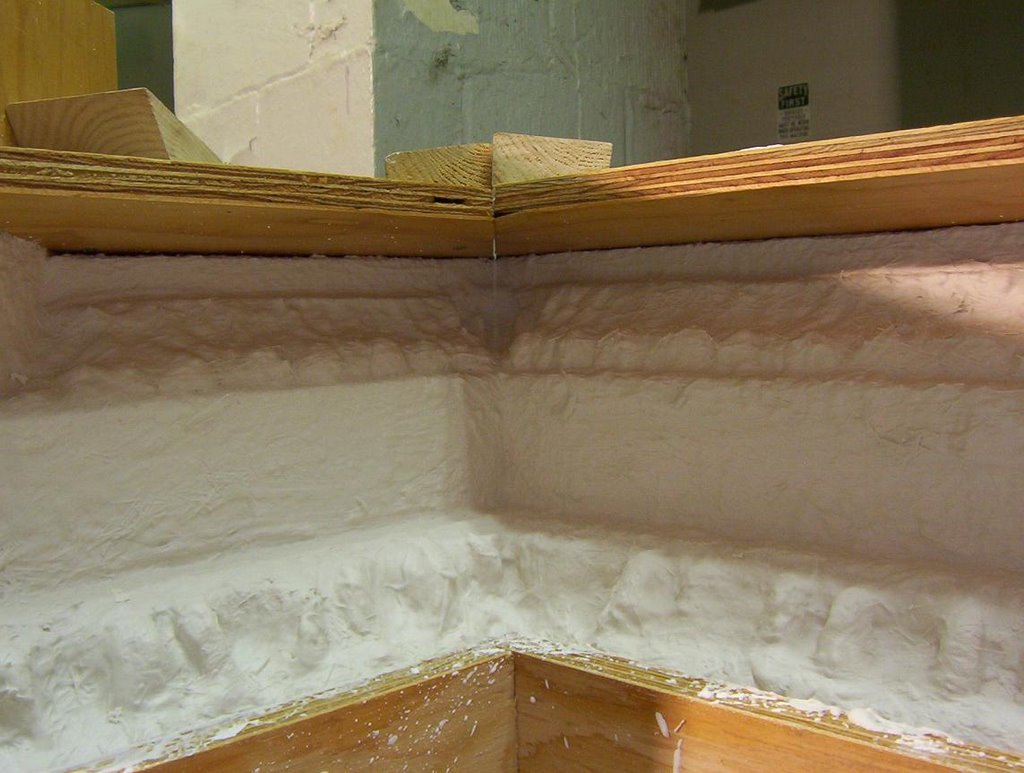
De-moulding proves to be not as difficult as I'd anticipated. However, I do find small fissures that must have occured when I was tipping the mould forward for access inbetween the modified Egg & Dart, top, and the top plate. They only look unaesthetic close up. Below the friezeboard where they occur it is stable with glass fibers interwoven randomly. The top seemed to be a little thin, so I integrated a section of metal lath under it all the way to the Egg & Dart with Struct-o-lite. The FRG-95 gives more control of the plaster lay-up process by virtue of setting time. Though harder to repair it is also harder to damage. This first cast is not a loss, but a gain. It will be utilised as the side pieces, or pilaster wings after being cut, which takes a diamond blade on a high-speed grinder. ( It must be noted thatI had lost some contact with plaster in this particular application and utilisation of any advancements that have made in their formulations over the years.) I do remember how tedious it was to do all those dentil spacers though. Resolved, the mould will not be tipped at all until the plaster is stable no matter how hard to reach it is underneath the top plate!
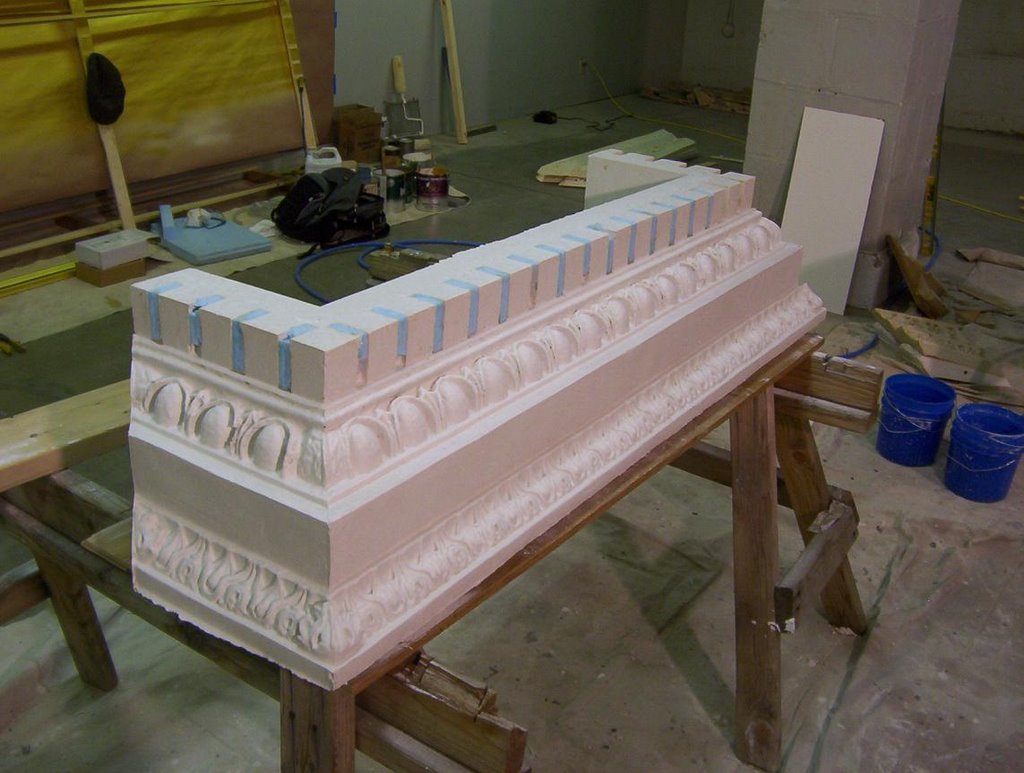
They prove to be quite easy to remove, and accurate.
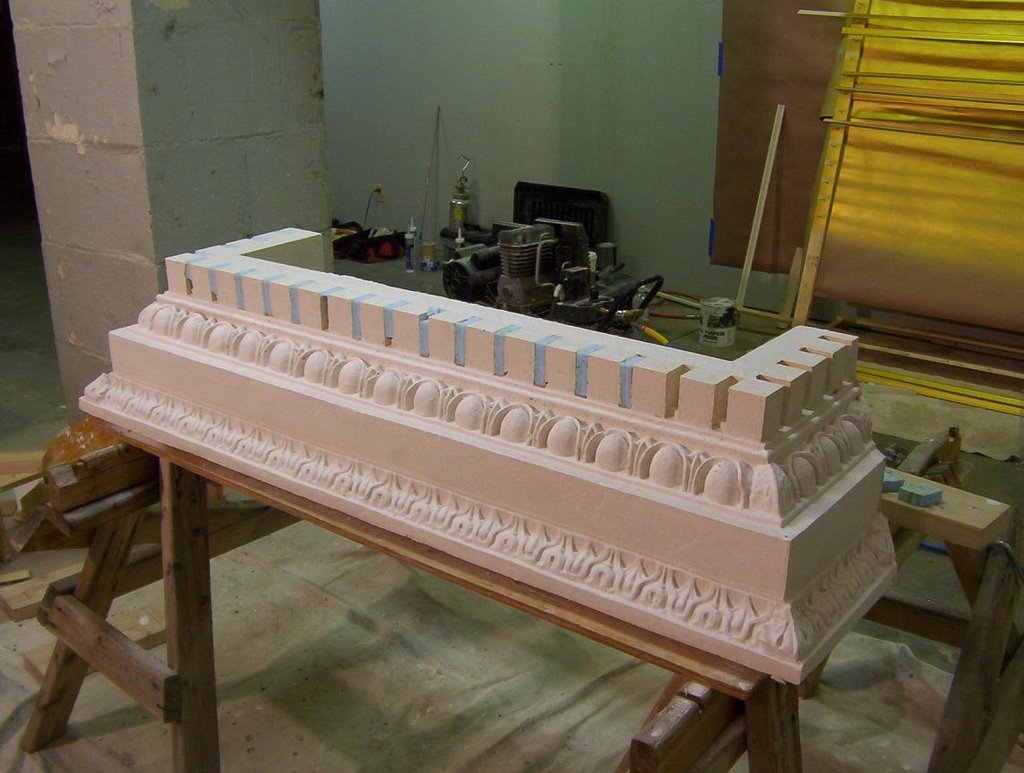
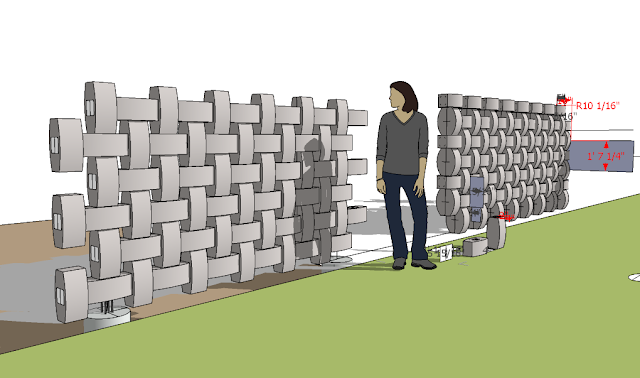
I place the Ogee and Bead plaster on top of the detils and find that the actual measurement of the new pilaster is too wide to disguise with equal spacing. In re-setting the mould I decide to space it apart with 1/4" plywood in the seams and fill in the corners with Plasteline clay. I only have to re-drill the positioning holes at the bottom of the mould baseplate.

Comments
Post a Comment