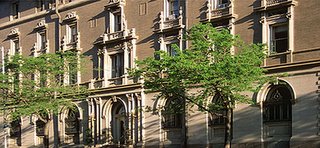
Cornice Replacement, Courtroom - Historic Federal Building in Pueblo, Colorado
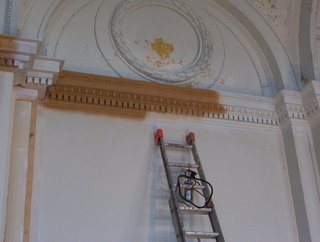
It takes a course around the room at roughly fifteen feet from floor level. Composed of four repeating patterns of modified egg & dart, egg and dart beneath a friezeboard separating the two, dentils, and an ogee and bead before transitioning to plaster wall surface.
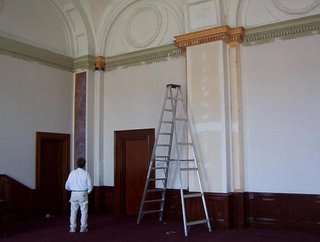
Above, a photograph of my father, Fred Kottenstette as we were just investigating for purposes of bidding restorative plaster repair and painting.
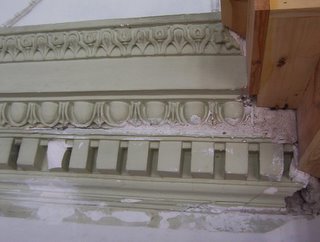 My task would be to cast from a suitable section within the room, re-pour and install new cornice where the wood section shown here had failed to be a suitable substrate upon which to adhere pre-fabricated pieces. In the course of surveying for estimation it was found that it was dimensionally incorrect by a substantial amount.
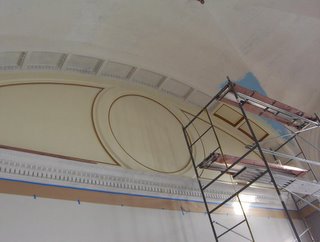
There was a lot more work preceeding this in the manner of removing chipped or flaking paint, floating out hard edges in the curved vaults, and then the painting after proper fixative to areas with calcimine, damage or deterioration.

 With a room temperature vulcanizing brushable rubber (RTV), one I was unfamiliar with, I chose a suitable patch to experiment on to see how it behaved. There was just the perfect spot where some of the egg and dart moulding was missing and patched merely flat .
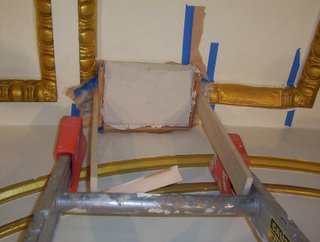
The decorative vaults within the arches that spanned across the pilasters had a repeating pattern in this egg and dart. I merely set myself over a few units and brushed it on. It was pretty drippy until I got used to it. Then I fenced it off with plywood shuttering and fixed the position of the rubber mould with a quick set gypsum drywall mix.
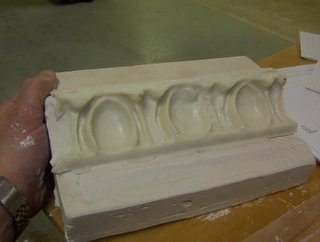
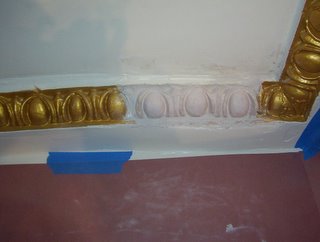
Once I'd removed it I took it down to the basement shop, re-used the shuttering and some plastelina clay as a fence to pour plaster within it. After a couple days drying time I installed it with the same setting mix I'd used for a fixative backing. With only a few minor sculptural adjustments the patch is complete.
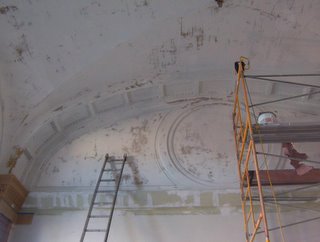
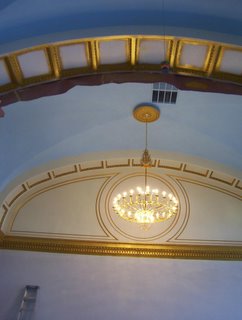
On to bigger and more complicated work.
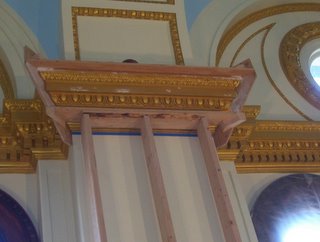
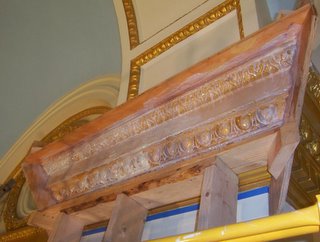
Initially I had sought to create shuttering which could be manipulated from the top down over the cornice work. The side transpostion, or "zig-zag" that wrapped the pilaster was symetrical between the middle section, which meant that I merely had to go diagonally across the room to get the same casting for the replacement. One side being eight inches to the left, and the other being ten inches to the right. I have no idea why there was this discrepancy. I wish I could go back 110 years and ask the architect. I was also keeping in mind that they took six years to build this thing and probably used gelatin from horses hooves for flexible moulds. (Please see the article covering the restoration in the Pueblo Chieftain Newspaper dated, November 29, 2005. http://chieftain.com/index/1140895550 )
I built a 15 foot high support of 2 x 6 lumber as if I would be supporting something heavy and fixed it to the cornice with a couple screws through the dentils.
At ease about bearing a load I went about setting up plywood shuttering, waxing it and closing off whatever gap was left with plastelina clay.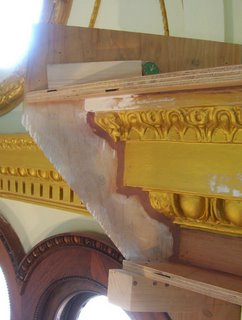
After the first coat.
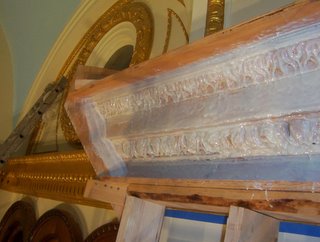
Second or third.
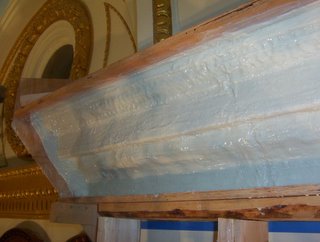
Finally by fifth coat going with my intuition that cheesecloth integrated into the upside down areas also prevents dripping as well as prevents tearing along edges.

I haven't been doing the latter, that's how. I don't have time to do things I would really like to do. I do have time to do the things I really have to do.
ReplyDeleteThank you for your comment.